
How we installed an onboard air setup on our van, and how we get good use out of it!
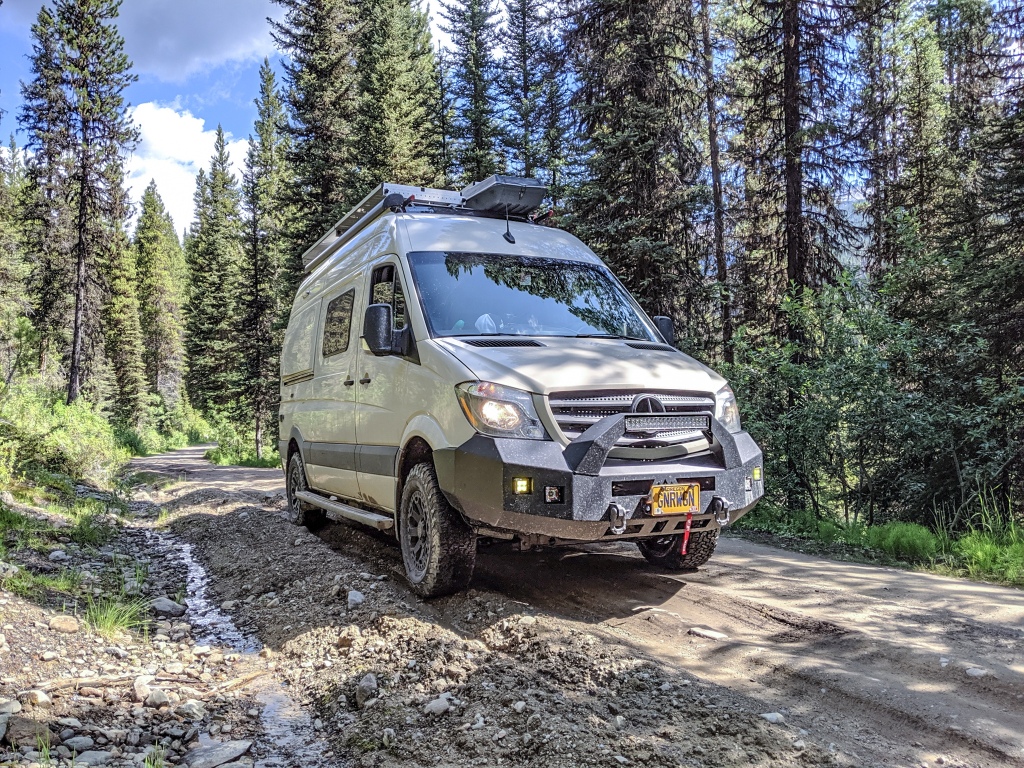
We learned early on that our van handles washboard and rutted forest roads much easier when the tires are aired down. It’s a heavy van, and driving on washboard gravel roads is unpleasant when the tires are inflated to highway pressures. Our general rule of thumb is to take ~40% of the air out of the tires when we encounter unmaintained roads with either intense washboard or ruts and holes.
Our gear guide mentions the Staun deflators that we highly recommend for quickly deflating the tires to a set pressure, but for getting the tires back up to pressure when returning to pavement we’ve been using the VIAIR 300p portable compressor (also mentioned in our gear guide). It’s worked great for us, but we decided to take on the project of installing an onboard setup on our van! Huge thank you to Van Compass who makes an air mount for easy install, as well as provides a blog post detailing the install they did in their shop van.
Anyway, to cut to the chase: here’s an install video as well as a parts list in case you decide to tackle the project yourself!
Parts
Watch the video above to get a better idea of where each of the parts are used!
- Onboard Air ($550 as of 6/8/20)
- Van Compass Air Mount
- VIAIR 2-Gallon Air Tank
- VIAIR Tank Port Fittings Kit
- VIAIR Onboard Air Hookup Kit
- VIAIR Air Source Relocation Kit
- VIAIR 1/4″ NPT Male Quick Connect Coupler (1 of these is included in the Onboard Air Hookup Kit, but two are needed to have hookups in the front and rear of the van)
- VIAIR 400C Air Compressor Kit (I choose this model over other VIAIR compressors compatible with the VC mount based on the fact that it has higher air output compared to some of the constant duty models. I’m only refilling tires, so a 33% duty cycle is fine for me!)
- 1x 1/4″ NPT Hex Nipple (used on top of air tank)
- 2x 1/4″ NPT Brass Elbow (1 used on front port of tank to help air line clear grill; other used at rear air connection to send air line up and away from open space at back where it could snag during off-road driving)
- 2x 1/4″ NPT Brass Bulkhead Fitting (used for front air connections to mount quick connect coupler to bumper or bracket)
- Inflators ($55 for bike, $103 for van tire as of 6/8/20)
- Bike Tire Inflator
- Van Tire Inflator – parts listed in connection order from the direction of the quick connect coupler to the tires. More detail at the end of the video above!
- Note: as of 6/8/20, I’m still seeing how well this works. My only possible change is potentially swapping out the air pressure regulator for a brass tee with a pressure gauge on it. Will update this after I get some use to see how well the pressure regulator performs!
- 1x Quick Connect Stud, already have from the VIAIR Air Source Relocation Kit above
- 1/4″ NPT Hex Nipple (connects quick connect stud to pressure regulator)
- 1/4″ NPT Parker Air Pressure Regulator (set to desired PSI of tires in order to have inflation stop at desired pressure)
- 1/4″ NPT Brass Shut Off Valve
- 1/4″ NPT Hex Nipple (connects shut off valve to brass tee)
- 1/4″ NPT Brass Tee
- 2x 10′ 1/4″ Coiled Air Hose (1 per tee, other end has tire chucks)
- AstroAI Tire Chuck, 2-pack Closed Flow (placed on end of coiled hose to connect to tires)
- Tools (if you don’t already have them)
- Rivet Nut Tool (for installing M8 nutserts for VC air mount)
That should be everything you need to level-up your van with an onboard air setup! Do you have any questions about any of the steps? Leave a comment below!
Make sure to check out our YouTube channel for install guides and other van content!


Hi. Do you have a link for the dust covers you used?
LikeLike
Hi Matt, I actually picked up the covers at a hydraulic supply store. I brought my quick connect port and they picked the cover that fit.
I can’t say that this will fit with 100% certainty, but they have the same part number that is on my cap (Pioneer 5209-4M) – https://www.shopcross.com/parker-5209-4m-molded-nipple-dust-cap-12-series-5000-qc
However, I’d recommend going to your local hydraulic supply store to grab them! You’ll be able to avoid shipping costs and confirm fitment.
LikeLike
Thank you!!! Appreciate the response.
LikeLiked by 1 person